|
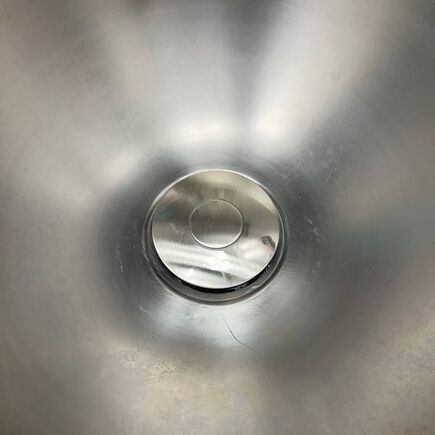
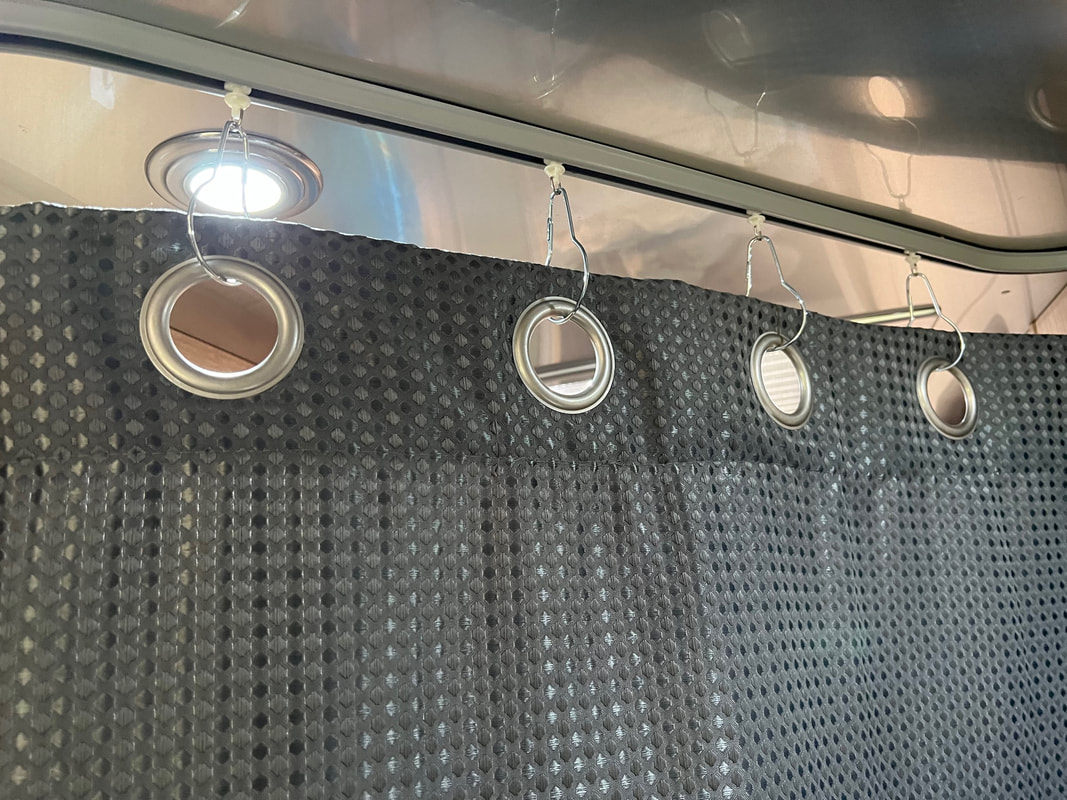
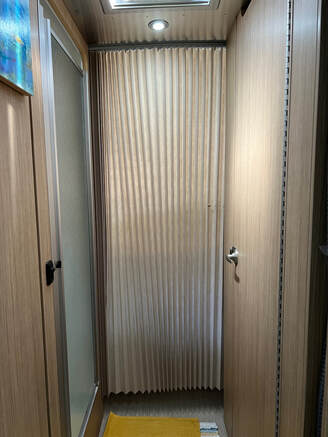
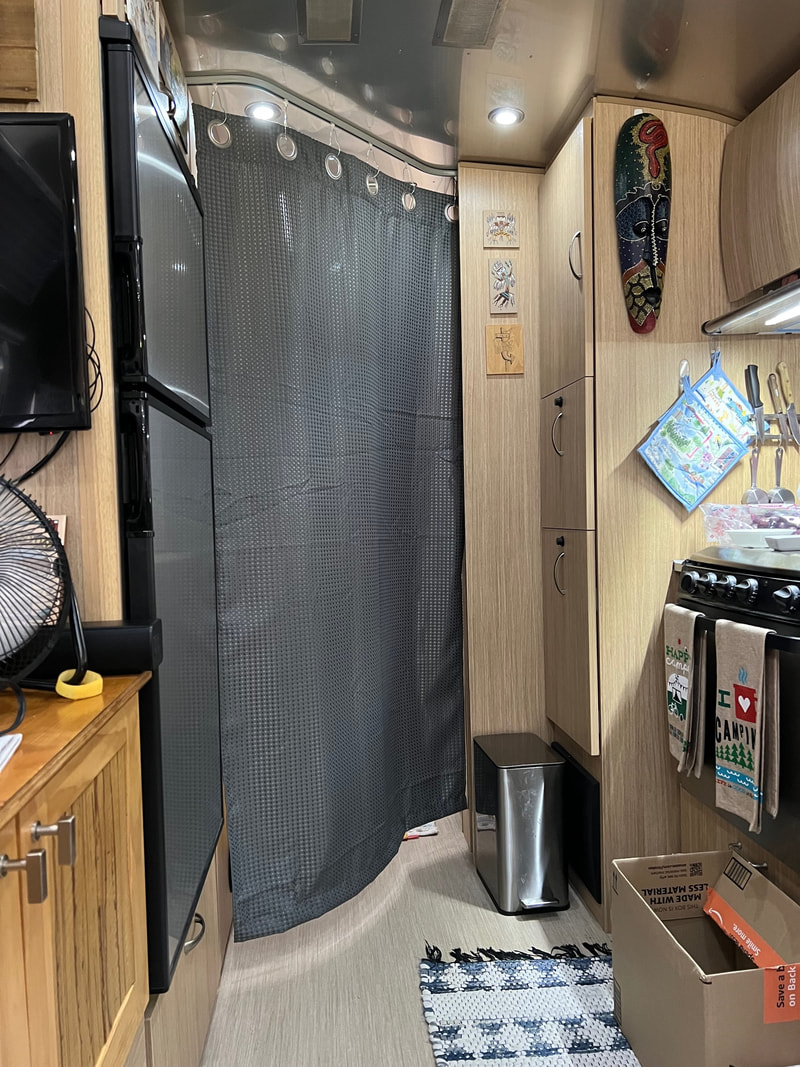
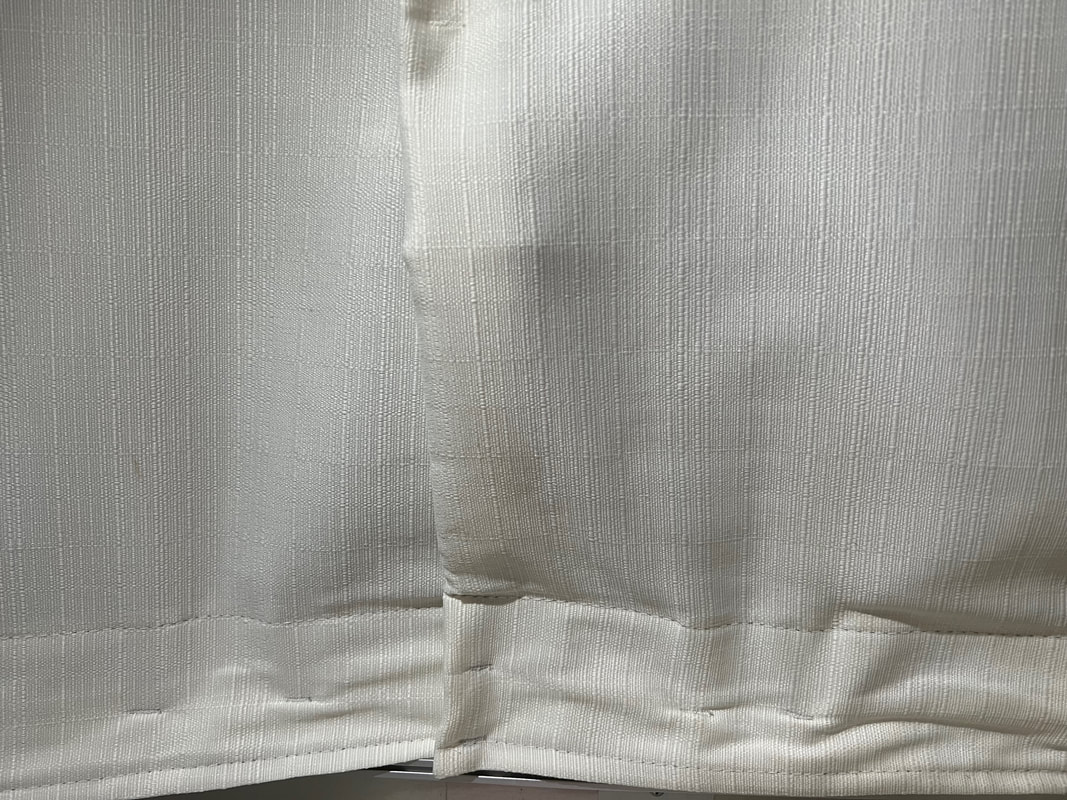
We have been taking advantage of our stationary summer and doing some minor repairs and upgrades to Betty Jo (the Airstream.) Including, a CURTAIN MAKEOVER. 1. We replaced the hand towel holder in bathroom. 2. Touched up surface spots on the ProPride hitch with a good cleaning and paint job. 3. Greased/Lubed and silicon sprayed all moving parts keeping them flexible and smooth. 4. Tightened all screws, nuts and bolts. We do this quarterly. 5. Cleaned and sanitized the fresh water tank. 6. Took everything out of the back of the truck to give it a good cleaning. 7. She will get a good cleaning before we hit the road in mid-September. It was the little touches that were a real treat this summer. Living in her for over a year now, there were some changes we wanted to make. As much as we love our Airstream, most of her surfaces are a bit on the hard side and it was time to add some soft touches and some color. The Sink in the bathroom We replaced the drain piece in the bathroom sink. The previous one was getting scuzzy and cracking. The new one added a clean and shiny look to the sink. THE PRIVACY CURTAINS The accordion-like fabric that came with our 2018 Flying Cloud allowed for privacy in the bedroom or separated the bath area from the living space, but it was harsh fabric, not to mention not an exciting color. We decided to add a little more color and softness to the space by replacing them with a curtain.
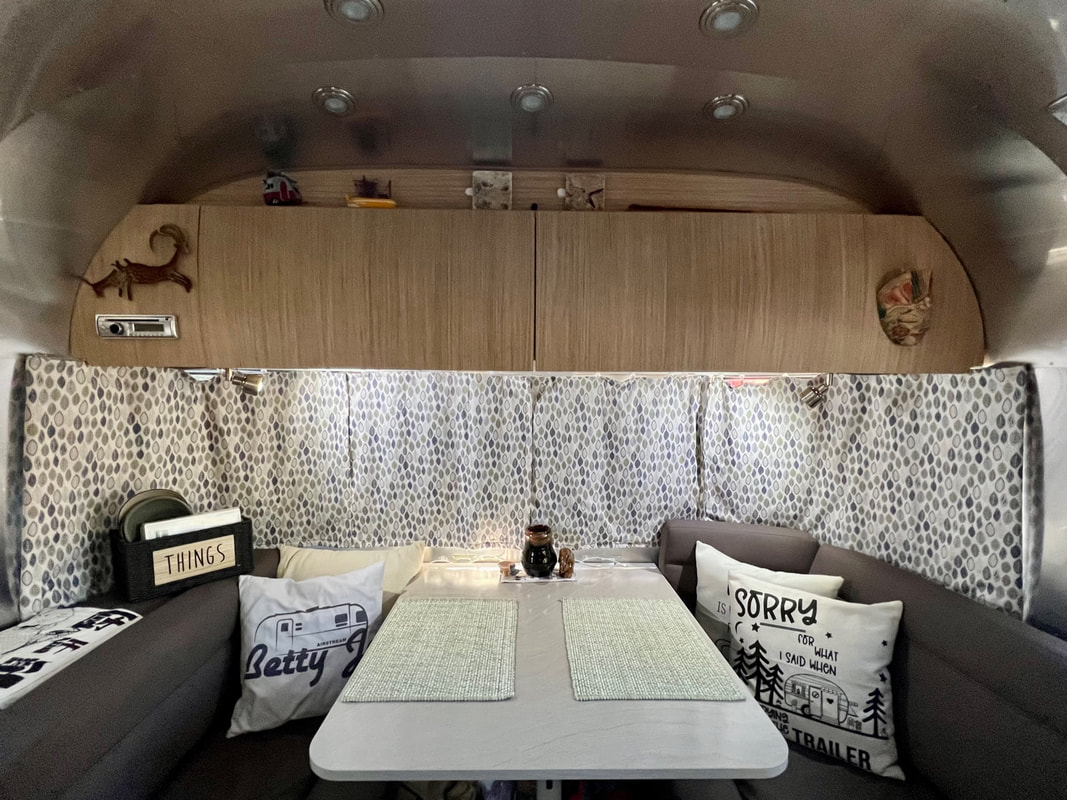
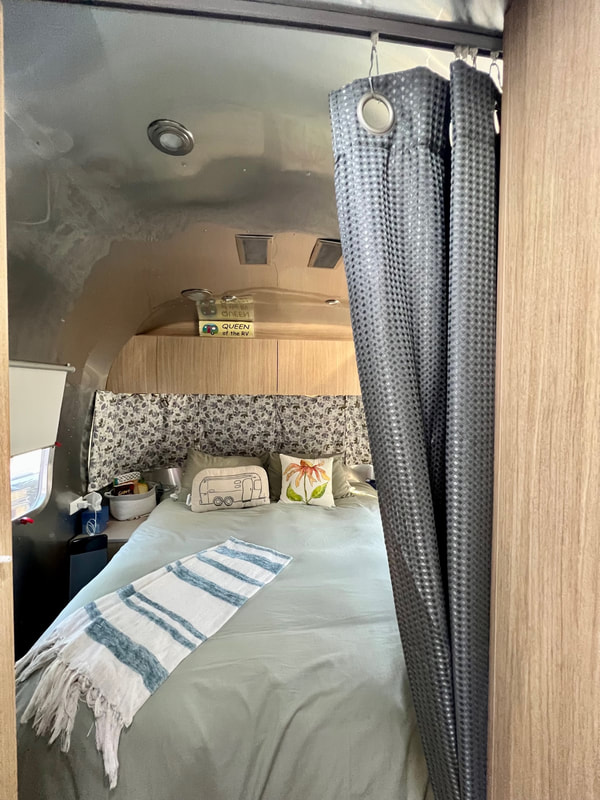
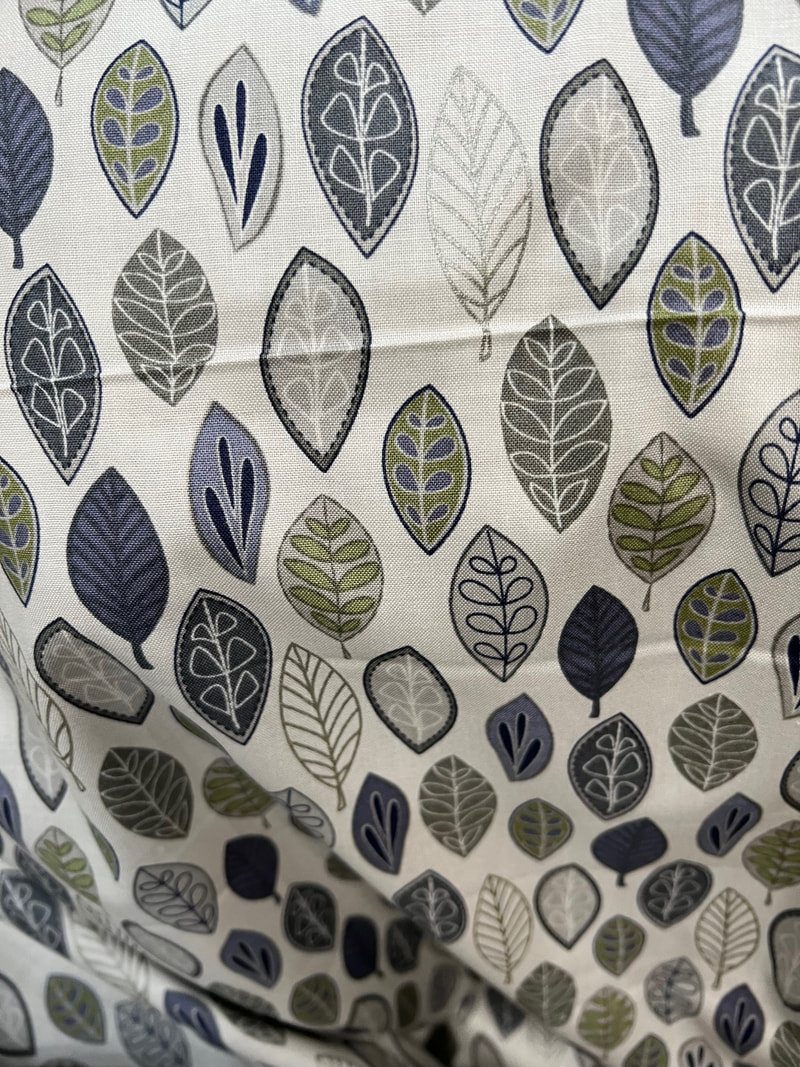
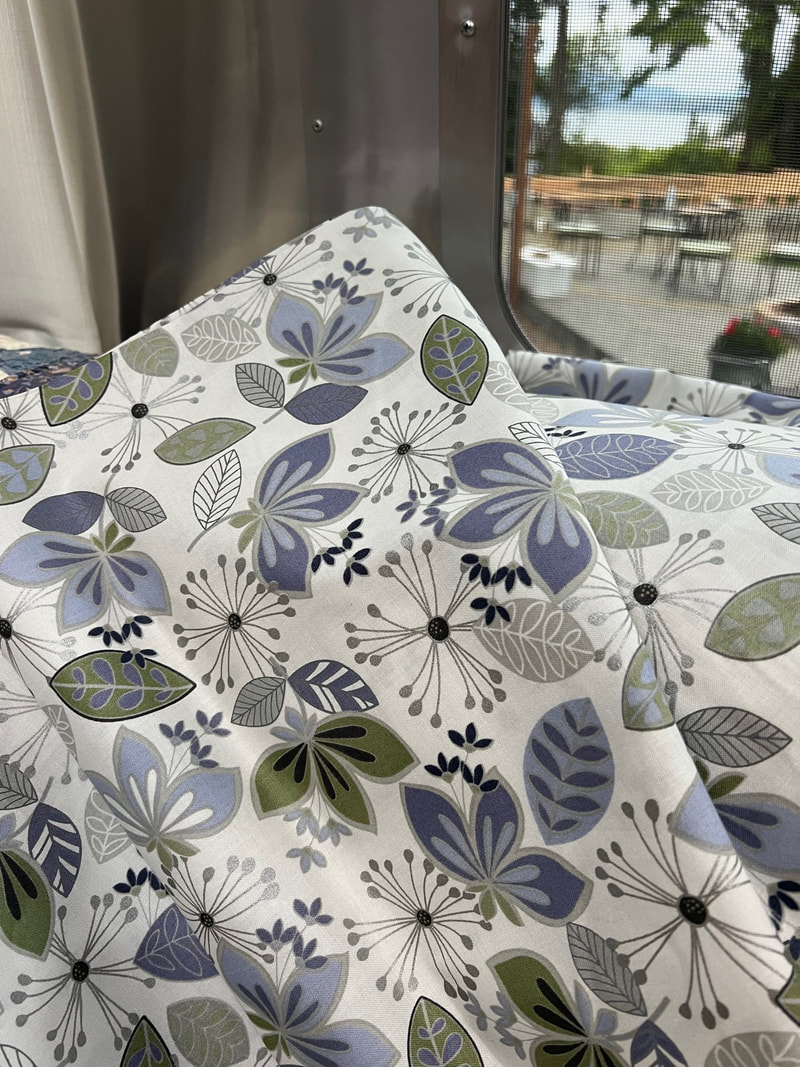
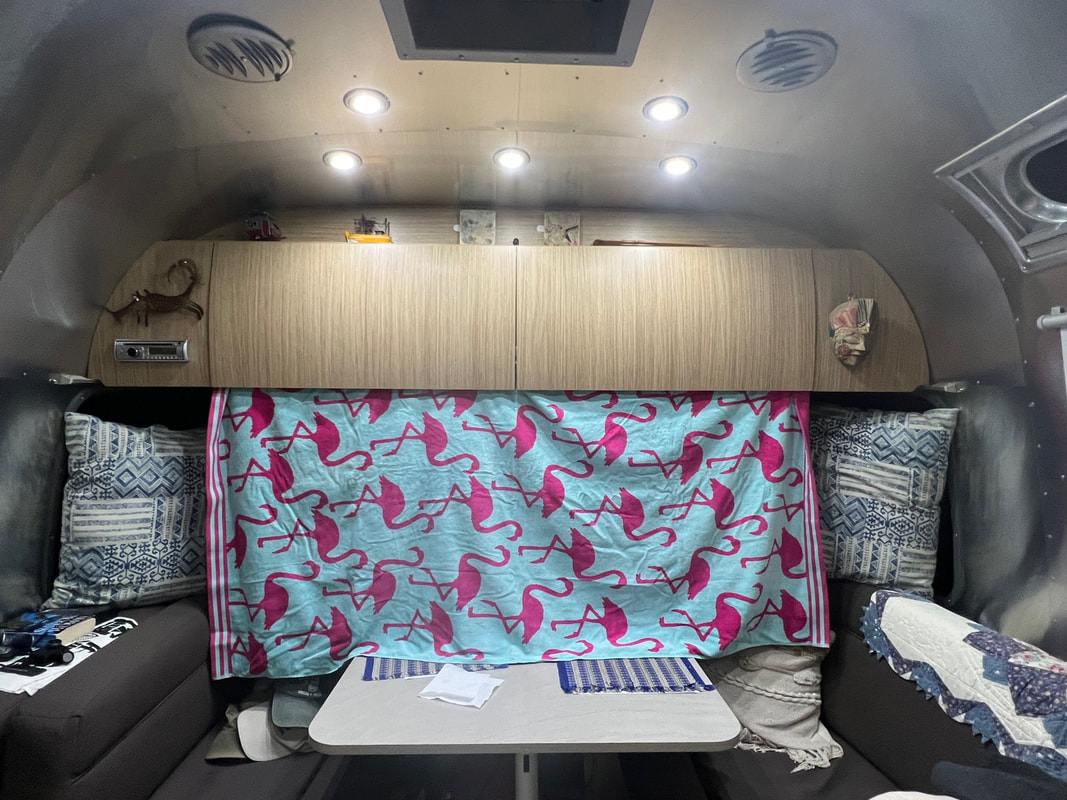
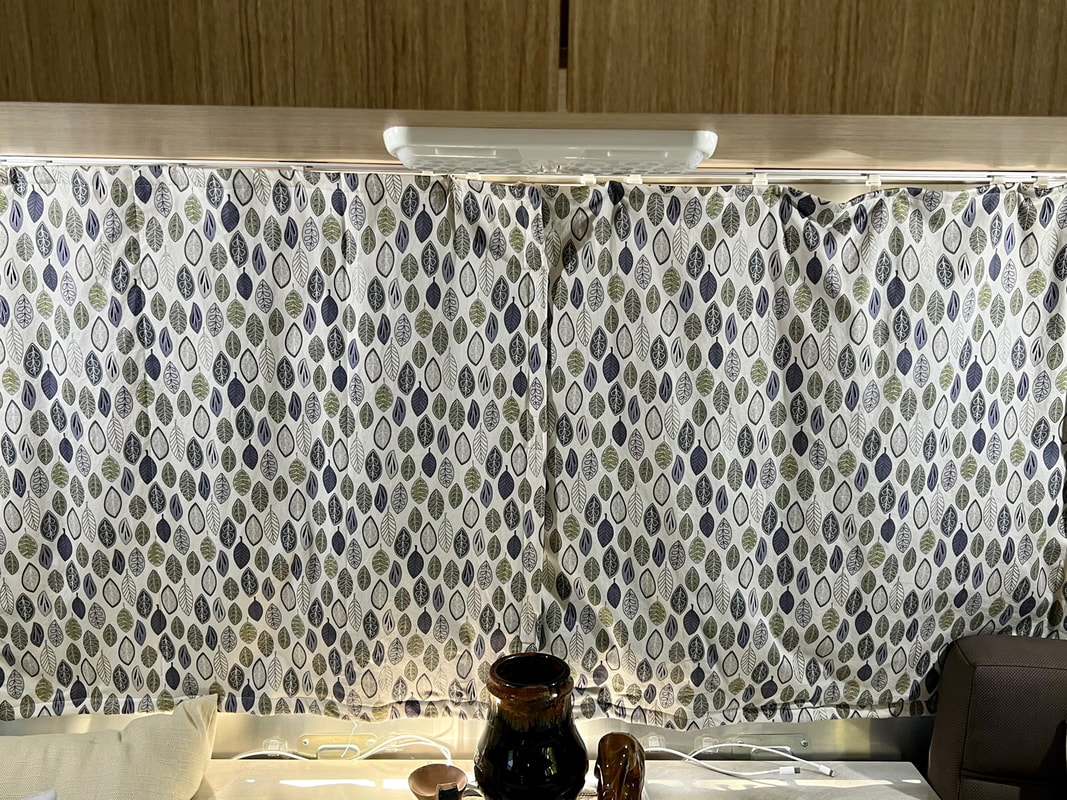
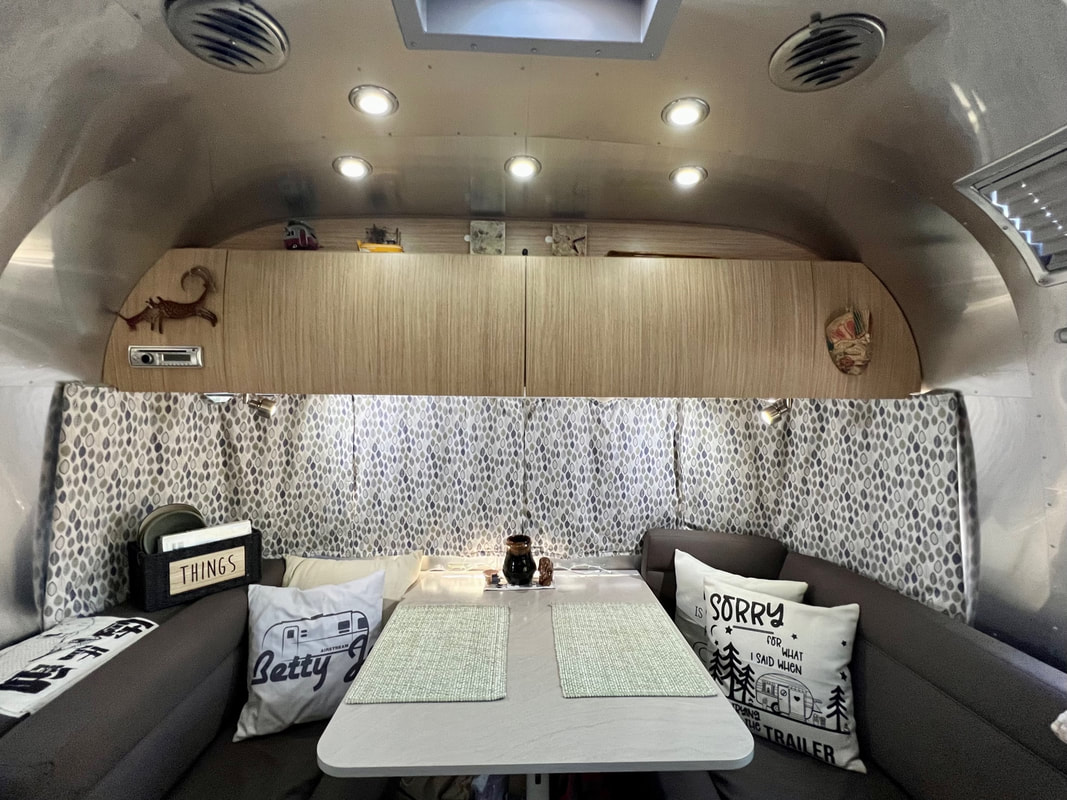
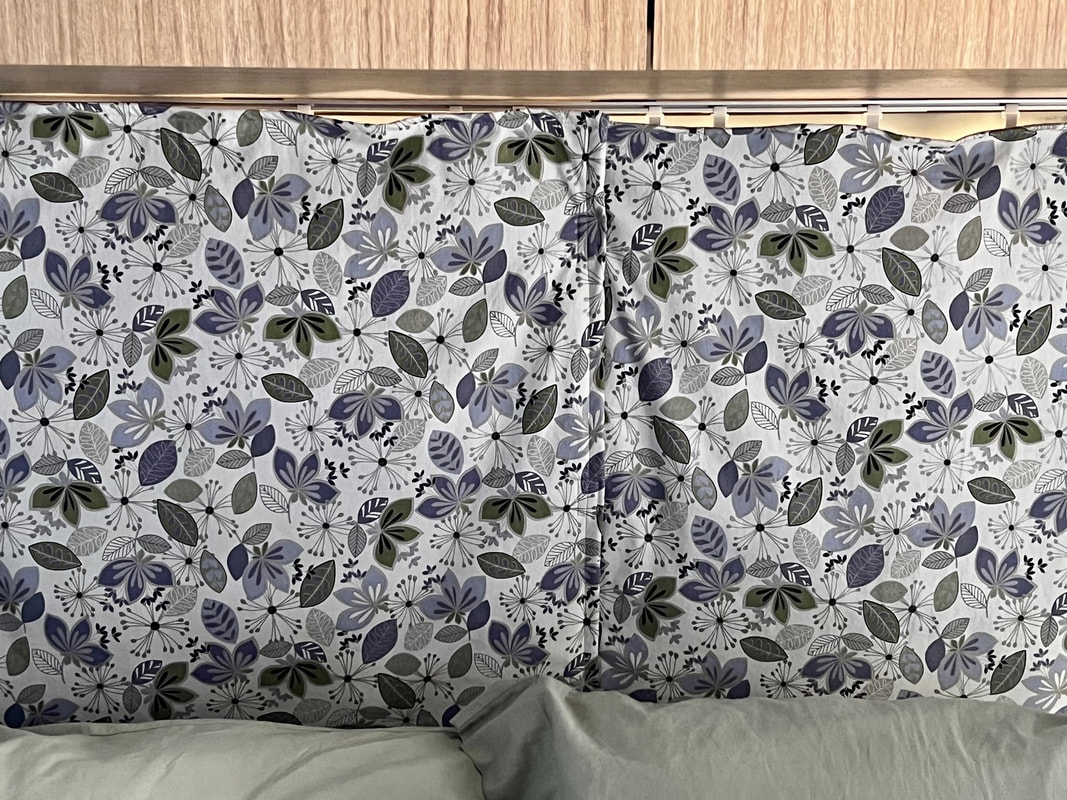
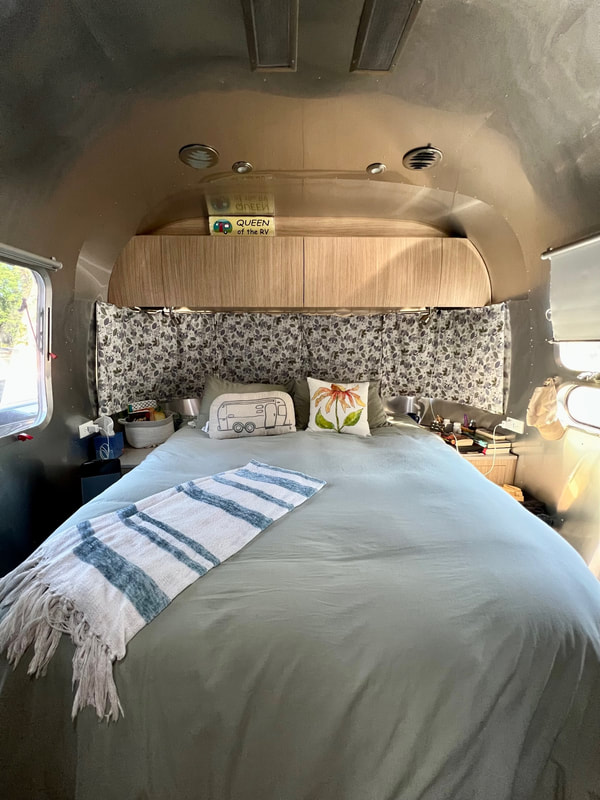
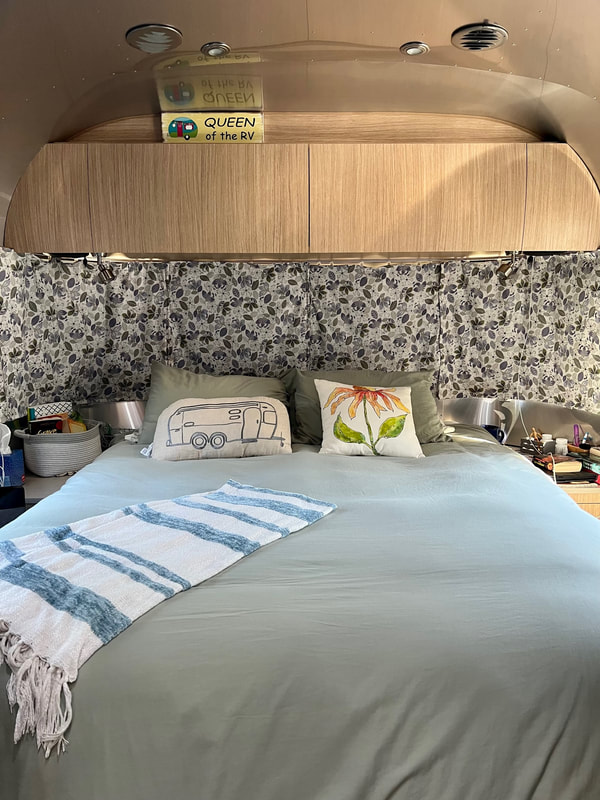
PIÈCE DE RÉSISTANCE- Curtain makeover White.... White.... White. After years of living in white wall apartments I find I am not too tolerant of that color so I have to "add" color. I knew this project would be very time consuming and would need some skills I may be slightly lacking in so I waited until our return to Anacortes and recruited the help of a friend, who also happens to be a quilter. I had found this video on how to makeover the Airstream curtains using the existing curtains. This made perfect sense to me - you already had the template with the existing curtains, they come with all of the hooks attached, and the blackout material is already incorporated into the design. Why reinvent, if it is already working. My friend and I picked a day we could shop for fabric. We found these lovely designs on the sale rack at the local fabric shop. Same designer, similar color scheme, a slight variation on the design. We picked a couple of nice days and washed the curtains on the gentle cycle. I had read many warnings about drying the curtains in the dryer (because of the blackout material) some had good luck on low, but since I was using an older washer/dryer set that was not mine, I opted to lay them out in the sun and let nature do the job. We did one room at a time starting with the living area. Our flamingo beach towel and large pillows made for a temporary curtain solution to provide privacy at night. Once the living room curtains were done, we put them temporarily in the bedroom for privacy, while the bedroom curtains were being sewn, Then it came time to iron the new fabric, measure, cut, and sew. We removed all of the velcro patches before starting - make sure when reassembling that they line up correctly. We also numbered the curtains in the order they came of the tracks. After a few lessons, I took over preparation of the curtains for sewing - measuring, cutting, and pinning the new fabric to the curtains. Gale expertly sewed the edges, finished the corners, cleaned up around the snaps, and made the final product a work of art. I could not be more pleased with the results. I only had a vague idea of what I wanted when we started this project, but nothing concrete. When I saw this fabric it just sang to me and next to the aluminum walls, the fabric and the walls shine. It's the little touches that make a home a home. A BIG THANK You to GALE. You have our deep appreciation and gratitude. The Living Area THE BEDROOM
0 Comments
|
Join Us
As we roam the roads and highways, looking for that next fantastic stop, keep track of our travels in our Airstream - Betty Jo Archives
October 2023
Categories
All
|
 RSS Feed
